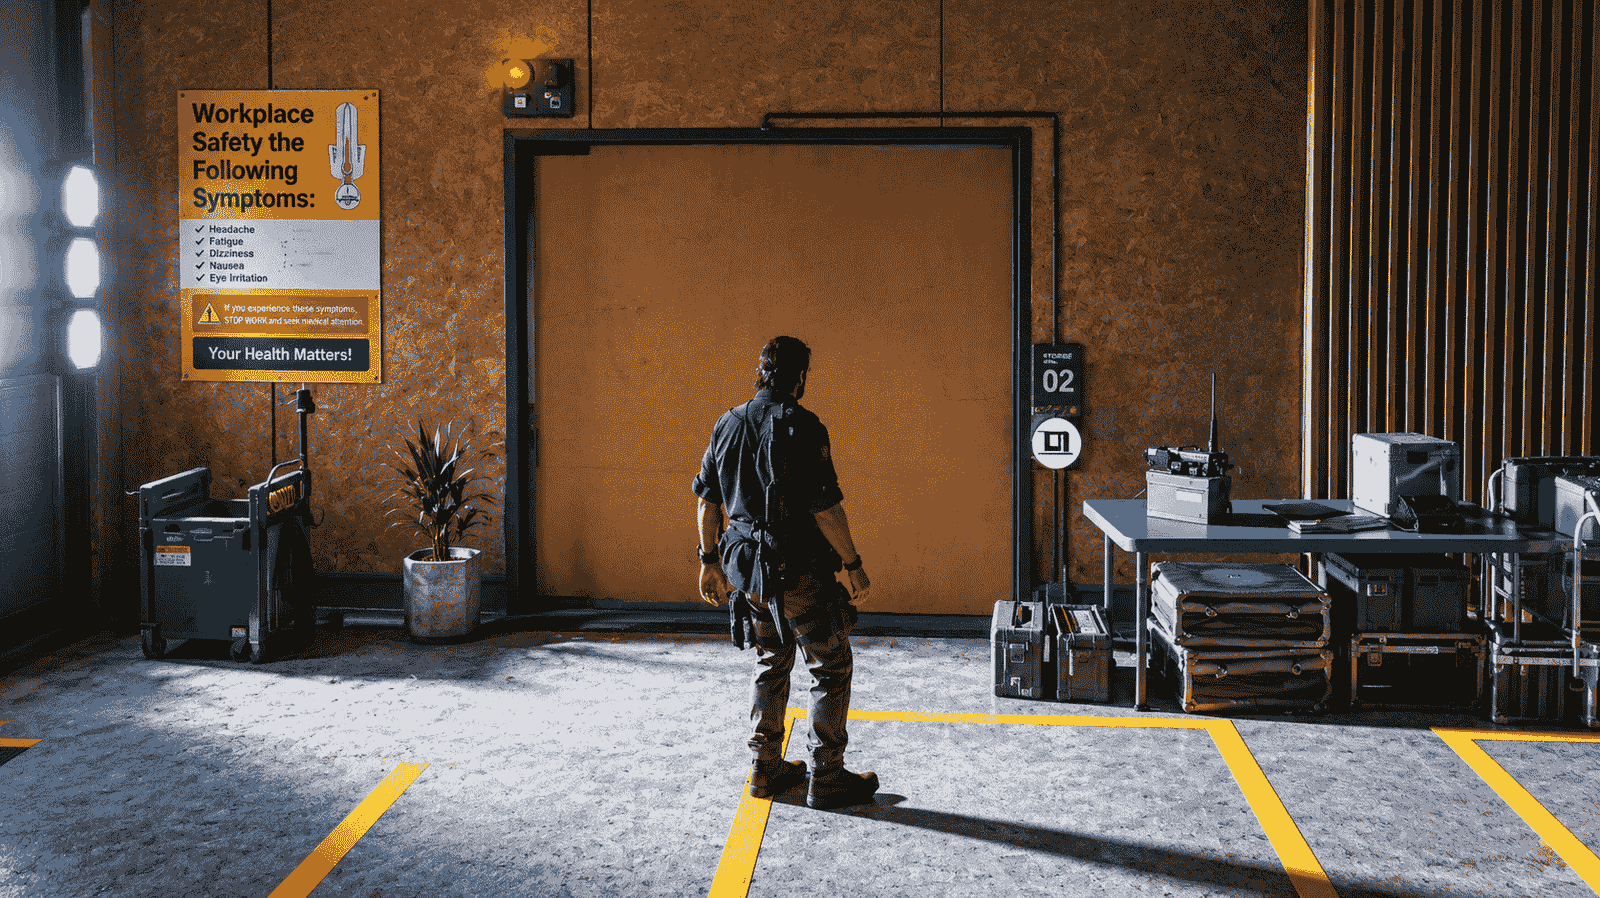

If you’ve been poking around locked doors in Control Resonant hoping to find the Level 2 Access Card lying in a drawer somewhere, stop looking — it isn’t sitting around waiting to be looted. This one is tied directly to a mission, and you won’t have it in your inventory until you’ve earned it the hard way.
You Can’t Get It Early — Here’s Why
Unlike the Level 1 Access Card, which you pick up early at the Outer Office simply by exploring, the Level 2 card is scripted to drop during a specific story mission called Evacuation Procedures. There’s no shortcut, no hidden stash, and no way to sequence-break your way into it earlier. If you’re hunting for it before reaching that point in the campaign, you’re wasting your time — it simply doesn’t exist in the world yet.
That also means if you’re trying to plan your run around unlocking everything the card opens, you’ll need to accept that those rewards are locked behind story progress, not exploration.
Getting Through Evacuation Procedures
Once you’re in the mission proper, here’s the rundown of what stands between you and the card.
Head to the evacuation zone. The mission marks your destination clearly on the mini-map — just follow it toward the building that’s causing all the tremors. Nothing tricky here, it’s a straight point-A-to-point-B walk.
Clear the Hiss Nodes blocking the entrance. When you arrive, you’ll find the building sealed off by a barrier made up of several Hiss Nodes. They’re easy to spot thanks to the red trails radiating off them, and destroying them is what opens your path inside. This is standard combat clearing, but don’t rush it — leaving nodes half-destroyed or skipping past them can leave enemies active behind you as you push forward.
Push through the building. Take the elevator up and keep progressing. Expect several enemy waves along the way, interspersed with a handful of flashback sequences that interrupt the action to fill in some story context. Once those wrap up, the mission shifts focus: you’re now told to track down a survivor.
Find and escort Arish. The survivor’s name is Arish, and you’ll locate him in a red-lit room further into the level. From here, your job is to escort him out to the elevator. This is the trickiest stretch of the mission — partway through the escort, a Hiss Node blocks the elevator cabin itself, forcing another fight before you can proceed. It’s at this exact moment, once the path is clear, that Arish hands over the Level 2 Access Card.
What You’re Actually Fighting For
It’s worth being upfront: this isn’t a mission with hidden traps or a secret puzzle to solve. The difficulty here comes entirely from combat — managing the Hiss Node clusters at the entrance, surviving the enemy waves inside the building, and handling the ambush that blocks Arish’s elevator. If you’re the type of player who wants a clean run, go in with your abilities upgraded and don’t burn all your resources before reaching Arish, since that final fight tends to catch people off guard.
What The Level 2 Access Card Actually Unlocks
Once the card is in your hands, backtrack to the starting area of the level. Several doors that were locked on your way in now open up:
- The Shum III arcade machine, accessible through a ground-floor door — and yes, it’s fully playable the moment you reach it.
- A changing room that gives you access to any pre-order or deluxe edition bonus outfits you’re entitled to, if you haven’t already claimed them elsewhere.
- Several safes scattered around the building, which were sealed until now.
None of this is critical to progressing the main story, but if you’re the type of player who likes to fully clear an area before moving on, it’s worth the short detour back.
Should You Backtrack Immediately?
Practically speaking, yes — there’s no reason to put this off. The areas the card unlocks are all close to where you already are, and none of them require additional combat to access once you’re holding the card. It’s a quick loop: grab the card from Arish, walk back the way you came, pop open the arcade room and changing room, then continue on with the mission. Skipping it just means coming back later, and there’s no guarantee revisiting the area later in the game will be as convenient.
Quick Recap
- The Level 2 Access Card only becomes available during the Evacuation Procedures mission — it can’t be found or looted beforehand.
- Reach the evacuation zone, destroy the Hiss Nodes blocking the entrance, then head up and fight through the building.
- Locate Arish in the red room and escort him to the elevator, dealing with a Hiss Node ambush along the way.
- Arish gives you the card once the elevator path is clear.
- Use it to unlock the Shum III arcade cabinet, a bonus outfit changing room, and several safes back near the starting area.
There’s no trick to this one — just combat, patience through the flashback interruptions, and a short backtrack once Arish hands the card over.