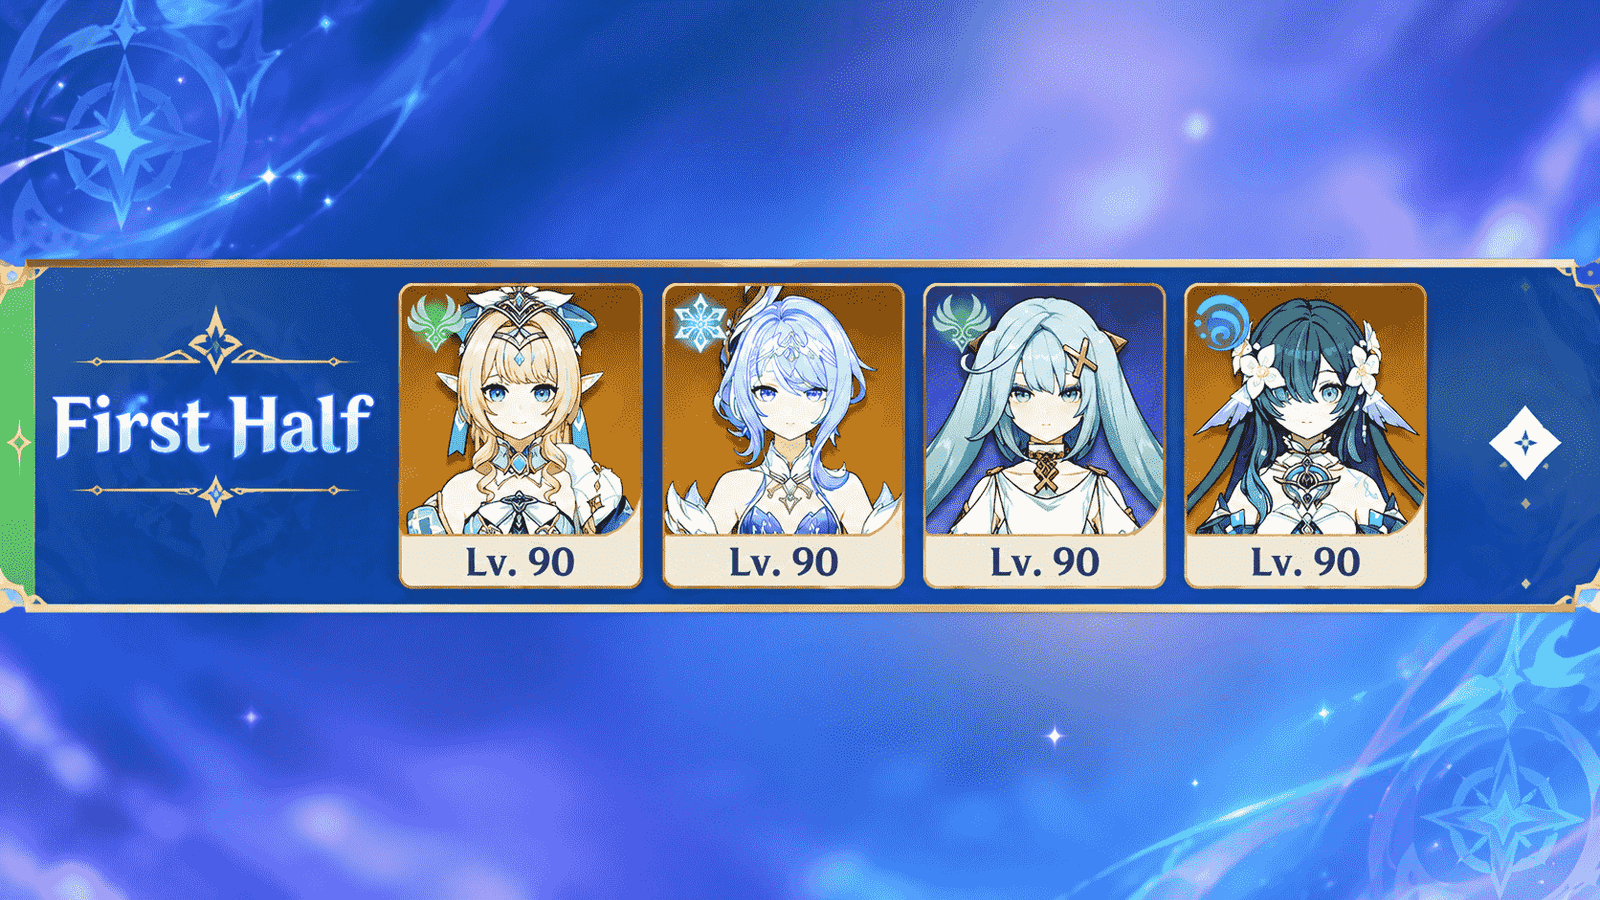

The Version 7.1 Spiral Abyss rotation is live and runs until the November 16 reset. Floor 12 is built around the Stellar and Cryo reactions of Natlan’s newest characters. This page lists the rules, the enemy lineup for each chamber and the team setups published by different sources, with each team credited to who suggested it instead of being ranked here.
Rotation At A Glance
| Item | Detail |
|---|---|
| Version | 7.1 |
| Rotation start | October 16, 2026, 04:00 server time |
| Rotation end | November 16, 2026, 04:00 server time |
| Same reset in UTC | 20:00 UTC the day before (Asia server), 03:00 UTC (Europe), 09:00 UTC (America) |
| Floor 12 chambers | 3, each with two halves |
| Blessing | Blessing of the Abyssal Moon (Stardread Moon) |
| Full clear | 9/9 stars on the Challenge Ended screen |
Star Thresholds (Per Chamber)
| Stars | Time remaining required |
|---|---|
| 3 | More than 420 seconds |
| 2 | More than 300 seconds |
| 1 | More than 180 seconds |
Floor 12 Rules
| Rule | Effect |
|---|---|
| First half Ley Line Disorder | Stellar Glimmer reaction damage +75% |
| Second half Ley Line Disorder | All party members gain 75% Cryo DMG Bonus (does not automatically boost every Stellar reaction) |
| Stardread Moon | Superconduct, Stellar-Conduct, Cryo Swirl, Stellar Swirl, Frozen, Shatter or direct Stellar damage can trigger a True DMG shockwave, at most once every 2 seconds |
Enemy Lineup By Chamber
| Chamber | Level | First half | Second half |
|---|---|---|---|
| 12-1 | 95 | Battle-Hardened Chimeric Volkodlak Archer | Iniquitous Baptist, then Shadowy Husk: Standard Bearer and Defender |
| 12-2 | 98 | Radiant Moonfly | Battle-Hardened Elite Treasure Hoarder |
| 12-3 | 100 | Chimeric Winged Lion | Secret Source Automaton: Overseer Device |
Source conflict: genshin.im lists different bosses for some halves (Furiosa in 12-1 first half and Hiljetta in 12-2 second half). Gamsgo and AllThings.how agree with the table above, so it follows them. Check the in-game lineup before committing.
Enemy Mechanics
| Enemy | Mechanic | Counter listed by sources |
|---|---|---|
| Volkodlak Archer | Hindering Roots; destroying them opens a weakened window of about 12 seconds | Clear all roots before the full damage window; Pyro-driven teams finish it |
| Iniquitous Baptist | Cycles Electro, Hydro and Pyro shields | Cryo breaks the Electro and Hydro shields, Hydro breaks Pyro; push in the gap after the third shield |
| Shadowy Husks | Standard Bearer and Defender | Focus the Defender while the Standard Bearer stays on you |
| Radiant Moonfly | Radiant Cocoon cuts damage, incoming healing and CRIT Rate until the affected character is healed to full | Heal the damage dealer to full first; any element works; avoid relying on Pyro or Dendro |
| Elite Treasure Hoarder | Seven-second armor preparation | Freeze the body three times, or use Overloaded on the armor |
| Chimeric Winged Lion | Electro ward, Anemo Orbs | Break the ward; hit the Orbs with Pyro, Hydro, Cryo or Electro to interrupt its charge |
| Overseer Device | Flow Momentum depends on how often it is hit by Cryo, not total damage | Keep continuous Cryo contact |
Team Setups By Source
Gamsgo (Eight-Character Pairs)
| Pair | Upper half | Lower half |
|---|---|---|
| A (established premium roster) | Sandrone, Yae Miko, Odette, Qiqi | Skirk, Furina, Escoffier, Shenhe |
| B (fewer limited first-half slots) | Mizuki, Cryo Traveler, Qiqi, Sucrose | Wriothesley, Yelan, Furina, Escoffier |
| C (older Freeze roster) | Mizuki, Cryo Traveler, Qiqi, Sucrose | Ayaka, Kokomi, Kazuha, Rosaria |
Alternatives mentioned: Vesna can replace Mizuki for an upper Stellar Swirl route. Mavuika, Xilonen, Bennett and Citlali are listed as an existing-roster option with incomplete configuration details.
genshin.im
| Half | Team needs | Teams |
|---|---|---|
| First (Stellar Glimmer) | Stellar Linchpin, an Anemo, Cryo or Electro character, a healer, one flexible slot | Vesna, Odette, Vodyanitsa, Faruzan; Sandrone, Odette, Alyosha, Yae Miko; Mizuki, Odette, Cryo Traveler, Sucrose |
| Second (Cryo core) | Two Cryo characters, two flexible slots | Skirk, Escoffier, Furina, Vodyanitsa; Lohen, Escoffier, Mona, Vodyanitsa; Sandrone, Odette, Alyosha, Yae Miko |
AllThings.how (Lower-Rarity Cores)
| Chamber | First half | Second half |
|---|---|---|
| 1 | Gaming, Rosaria, Iansan, Chevreuse | Cryo Traveler, Sucrose, Alyosha, Xingqiu |
| 2 | Bennett, Fischl, Xingqiu, Rosaria | Cryo Traveler, Sucrose, Alyosha, Barbara |
| 3 | Bennett, Fischl, Xingqiu, Rosaria | Cryo Traveler, Sucrose, Alyosha, Barbara |
In the second half, Xingqiu or Barbara applies Hydro, Sucrose shreds resistance and Alyosha adds Electro for Superconduct. The Bennett group triggers Overloaded, Electro-Charged, Melt and Vaporize as needed. The page labels every team four-star but includes Cryo Traveler, whom it notes is normally a five-star, so verify that claim.
Gear Listed For The Lower-Rarity Teams
| Character | Weapon | Artifacts |
|---|---|---|
| Gaming | Tidal Shadow R5 | Crimson Witch of Flames |
| Bennett | Festering Desire R5 | Crimson Witch of Flames |
| Fischl | Alley Hunter R5 | Golden Troupe |
| Xingqiu | Sacrificial Sword R5 | Echoes / Nighttime Whispers |
| Rosaria | Favonius Lance R5 | Noblesse Oblige |
| Cryo Traveler | Exaiphanes Blade R3 | Disenchantment in Deep Shadow |
| Sucrose | Favonius Codex R5 | Viridescent Venerer |
| Alyosha | Favonius Lance R5 | Heart of the Furnace |
| Barbara | Thrilling Tales of Dragon Slayers R5 | Tenacity of the Millelith |
| Iansan, Chevreuse | Favonius Lance R5 | Scroll of the Hero of Cinder City |
Favonius weapons are listed to keep energy flowing so bursts are ready each rotation.
Which Characters Appear Most Across Sources
| Character | Appearances in the lists above |
|---|---|
| Cryo Traveler | Gamsgo (B, C), genshin.im (first half), AllThings.how (second half) |
| Odette | Gamsgo (A), genshin.im (first half, twice) |
| Escoffier | Gamsgo (A, B), genshin.im (second half, twice) |
| Furina | Gamsgo (A, B), genshin.im (second half) |
| Alyosha | genshin.im (twice), AllThings.how (second half) |
| Sucrose | Gamsgo (B, C), genshin.im, AllThings.how |
| Skirk | Gamsgo (A), genshin.im |
| Vodyanitsa | genshin.im (first and second half) |
| Qiqi | Gamsgo (A, B, C) |
Rewards
| Reward | Amount (AllThings.how) |
|---|---|
| Primogems | 200 |
| Mora | 60,000 |
| Domain Reliquary Tier I | 1 |
| Domain Reliquary Tier II | 2 |
Chamber’s Bounty is awarded only on the first clear. The page does not say whether these amounts are per chamber or for the whole floor.
Planning Notes From Sources
| Tip | Source |
|---|---|
| Prioritize mechanic hits and healing in the first half; sustained Cryo and Hydro application in the second | Gamsgo |
| Upgrade Witch’s Revelation for Mizuki and Qiqi before relying on their updated mechanics | Gamsgo |
| If a run fails, check the observed failure before adding damage | Gamsgo |
| Build targets in that guide are unbuffed planning numbers, not measured nine-star thresholds | Gamsgo |
| Shortfalls usually come from leaving a boss gauge or shield unattended | AllThings.how |
FAQ
When does 7.1 Spiral Abyss reset? November 16, 2026 at 04:00 server time.
What is the three-star requirement? More than 420 seconds remaining in each chamber.
Do I need five-stars? Sources list both five-star and lower-rarity setups.
Are Skirk and Escoffier in the recommended lists? Yes, in the second-half Cryo teams.