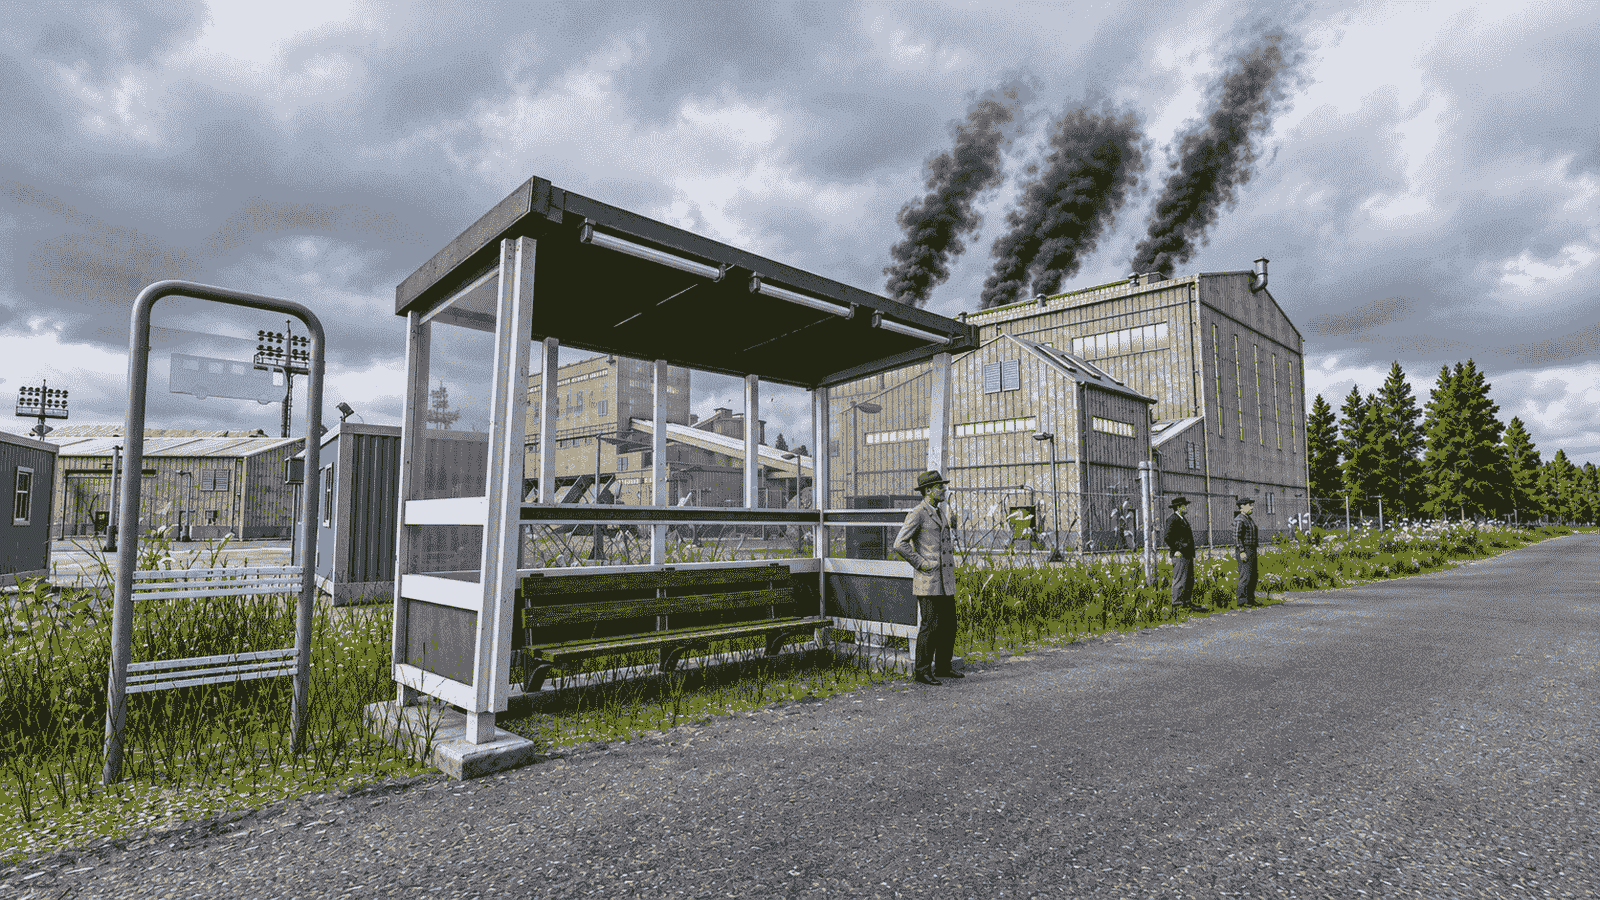

If you’ve built what looks like a perfectly reasonable bus route in Transport Fever 3 and your industry still isn’t receiving any workers, you’re not alone — and the map almost certainly looks fine while hiding the actual problem. Getting passengers to a work site isn’t about drawing a line between two points; it’s about making sure people can physically walk the last stretch on foot. Here’s everything that goes into building a route that actually delivers workers rather than quietly running empty.
Start By Checking What Residents Actually Want
Before laying a single road or track, it’s worth figuring out where your town’s population actually wants to go. Select the town in question, open its supplies tab, and look at the passenger destination list. This gives you real demand data rather than a guess, and it’s the fastest way to decide which work sites are worth connecting before you spend a cent on infrastructure.
Once you’ve picked a destination worth serving, you can route almost any passenger-carrying vehicle toward it — bus, tram, subway, train, or ship all work, so the choice comes down to whichever mode gives you the clearest, most direct path to the site in question.
The One Rule Everything Else Depends On
Here’s the detail that trips up most players, and it’s the single most important thing to understand about this entire system: a work site only counts as reachable if passengers can actually walk to it from where your line ends. Even a flawless-looking route carries zero workers if that final walking connection isn’t there.
The game actually shows you this connection directly — look for thin blue lines running from the end of a road to the destination’s pedestrian area. If you can see that blue path, passengers can walk in from your stop. If you can’t, the stop is connecting to nothing, no matter how well-planned the rest of the route looks on the map. This isn’t unique to industries either — check for the same blue connection at airports, train stations, and ports every single time you place a stop near one.
On the residential side, look for green-highlighted buildings. That green shading marks where people actually live and where you should be placing your pickup stop.
Connecting A Land-Based Work Site, Airport, Or Station
For straightforward land targets — quarries, airports, train stations, and similar buildings — the process is fairly simple once you know what you’re looking for:
- Run your road out until its endpoint sits right beside the destination’s pedestrian area, and confirm the thin blue lines are visible connecting the two.
- Drop one stop at that road endpoint, and a second stop inside a green-highlighted residential zone.
- Connect both stops with a line and assign a vehicle to it. Passenger numbers build up gradually, so give it several in-game days before judging whether the route is working.
If the road and the pedestrian entrance sit at noticeably different elevations and that blue walking path simply refuses to appear no matter how close you get, the game’s terrain tools let you level the ground between them. It’s not free, but it’s often the only fix when elevation is the actual culprit.
Getting Workers Out To Offshore Sites
Fishing grounds and oil rigs add an extra wrinkle, since reaching them requires a port rather than a road connection. Ports also behave differently from other buildings — instead of a connection point out front, their pedestrian entrance sits at the rear of the structure, which catches a lot of players off guard the first time they try to hook one up.
Here’s the full sequence for getting a port properly connected:
- Build the port, then extend a road toward that rear pedestrian entrance, close enough for the blue walking lines to form a connection.
- Place a bus station at the end of that road and double-check the blue path is still showing. If it’s missing, nobody can actually walk into the port and the whole line sits empty regardless of how many buses you throw at it.
- Add a second bus station inside a green residential zone, link the two stations into a line, and assign a bus. Give it time — passenger numbers build up over several in-game days, same as any other route.
- If the pedestrian entrance is too short to reach, or your road simply can’t get close enough, open the port’s Configuration menu and add more pedestrian entrances. You can extend these along whatever directions the game allows, though you can’t adjust their elevation.
- Finally, set up a separate line running from the port itself out to the actual work site — the fishing ground or oil rig — and assign a passenger-capable ship. By default, that ship will load and unload both passengers and any available cargo on the same route.
Stopping Vehicles From Sailing Empty
Even with a technically correct route, there’s a subtler problem that quietly eats into efficiency: ships and vehicles departing with few or no passengers aboard, simply because the default settings allow it. Each stop has its own Departure Configuration, and left on default, a vehicle is allowed to leave completely empty if nobody’s boarded by the time its wait timer runs out.
You can change this behavior through Lines, by selecting the relevant route and stop, then adjusting the passenger-loading symbol. The three options work like this:
| Setting | Behavior | Best For |
|---|---|---|
| Load If Available | Waits a set time, then may leave empty anyway | Default setting; risks wasted empty runs |
| Full Load Any | Won’t depart until at least one passenger boards | Quieter, lower-traffic lines |
| Full Load All | Waits until the vehicle hits full capacity | Busy lines and airline-style routes |
There’s also a separate toggle that forces a vehicle to unload everything at its very next stop. Switch this on for simple point-to-point routes to stop cargo or passengers from awkwardly riding all the way back to their origin. Leave it off, though, for anything with multiple stops — particularly bus routes weaving through several stations, where forcing a full unload at the wrong point can break the whole route’s logic.
Sending Workers Between Two Separate Cities
Moving workers from one city to serve a work site in another city requires a slightly more involved setup: transfer terminals in both locations, tied together with three separate lines rather than one continuous route.
- Line one runs from a residential area in the first city to that city’s transfer terminal.
- Line two connects the two terminals directly, carrying passengers between the cities.
- Line three runs from the second city’s terminal out to its housing area.
A couple of details matter a lot here. Restrict the transfer line’s permitted cargo types to exactly what you intend to carry, since leaving it open can cause passengers to get stranded at the first terminal instead of boarding through. And critically, make sure the line’s configuration explicitly allows passengers in both directions between the two cities — without that setting enabled, the route will look completely valid on the map while carrying absolutely nobody.
Do You Even Need To Send Workers?
Here’s a question worth asking before investing heavily in any of this: does the plant actually need extra workers at all? Industrial sites like livestock farms, fishing grounds, quarries, oil rigs, sawmills, and cement plants all run fine without any assigned workers, producing a steady baseline output by default.
The real reason to bother building worker transit is output. Once a town’s demand for a resource climbs past what that baseline production can cover, bringing in workers — or delivering tools, or doing both together for the strongest effect — becomes the way to push output higher. It’s also worth checking for subsidies, which are often available specifically for transporting workers to a plant. These are usually easy money to take, especially if you’ve already got a port and ship depot sitting nearby.
To confirm your whole setup is actually functioning, keep an eye on the industry panel itself. Once workers start showing up at a plant, you’ll see its production multiplier begin climbing. If that number rises after your passengers start arriving, the route is doing exactly what it’s supposed to — and output will keep scaling as long as the worker pipeline stays active.